
I was doing some thrift shopping the other day and I found this adorable shirt in the children’s section. It fit me, but really isn’t my style. I just had to buy it though, because it’s so true: I DO love skinny boys with glasses! (Well, one skinny man in particular ?)
I decided I would just make something cute from it, and I might as well take photos and do a little fun mini-DIY post. I’m not going to get all technical on this, because most of the steps are pretty self explanatory.
Here we go! Enjoy!
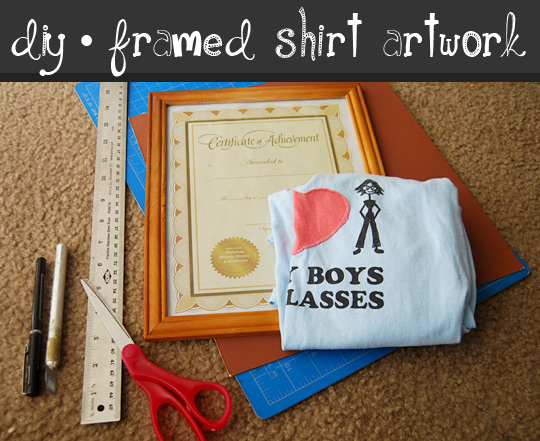
For this project, you’ll need a cute t-shirt, a cheap picture frame (I got this one at a dollar store a million years ago), some sort of backing (I used matte board scraps), and a handful of miscellaneous crafts supplies for cutting and glueing and the like.
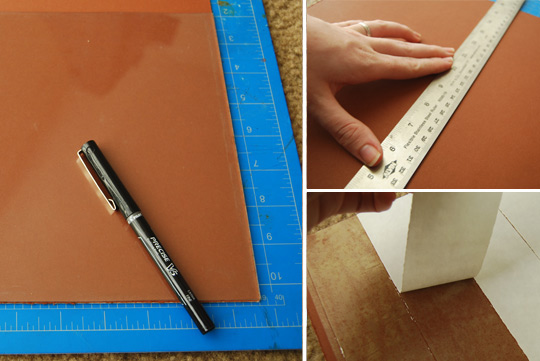
First I traced the glass onto the matte board to get the right size. I used board because I didn’t want the glass to be behind the shirt. (Now I’ll need to come up with something crafty to do with a random glass pane though!) And I cut the board down to size with my metal ruler and an exacto knife. I covered one side of the board with double sided tape. (I actually used carpet tape.)

Then I placed the board inside of the shirt and centered the design where I wanted it to be. Stretch it nice and tight and give it a good rub so it sticks to the double sided tape. (You could use glue, but I am way not that patient!)

I then trimmed along the edge, leaving a few inches, and used more double sided tape to hold the edges down in the back. Clipping the corners will help make it less bulky. I also ended up trimming off the piece of neckline, luckily there was still enough fabric left on that edge to work with.

Now just put it back in the frame and hang! Super easy! I mean… that was so hard! I bet you are glad I showed you how to do that! You may never have figured that out on your own.

PS. Sorry Hubs.. I know I was supposed to be CLEANING the living room…