
I got this book from the library yesterday called “Felt, Fabric and Fiber Jewelry”. It was an interesting book to flip through and get some creative inspiration. This is one of the tutorials from the book that I decided to try out last night.
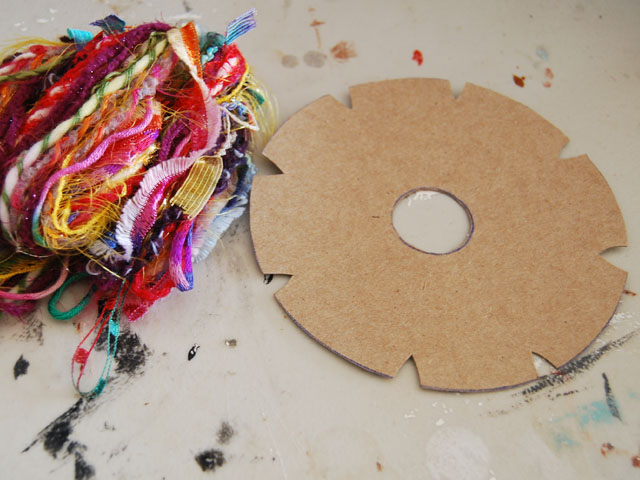
Step 1. You’re going to start off by cutting out your “loom”. Cut a large circle from cardboard, and then cut a smaller circle from the center and cut 8 notches evenly around the outer rim. (I would probably cut the inner circle a bit smaller than what I have shown here.) Then you’ll need to cut 7 different fibers to one yard in length. Put all the fibers in a bunch and tie a knot at the end.
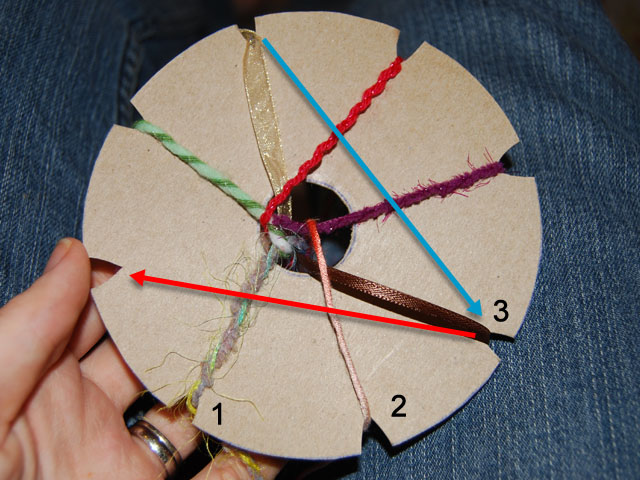
Step 2. Put the end knot in the center hole and place one fiber in each notch. There will always be one open notch. To create the braid you’re going to take the third string from the empty notch, and move it to the empty one. You keep repeating this process, working around and around and around and around…
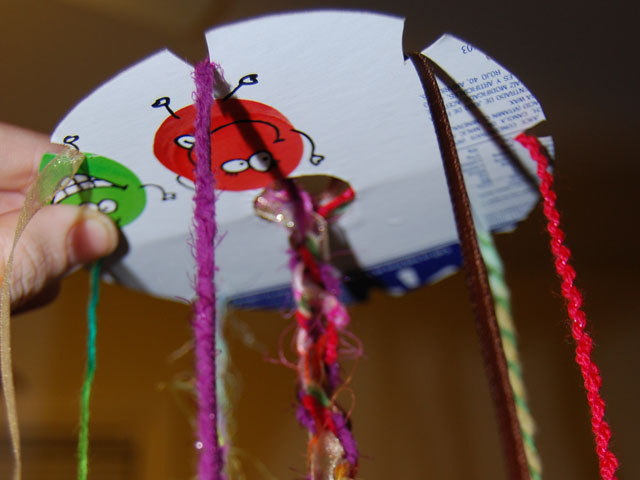
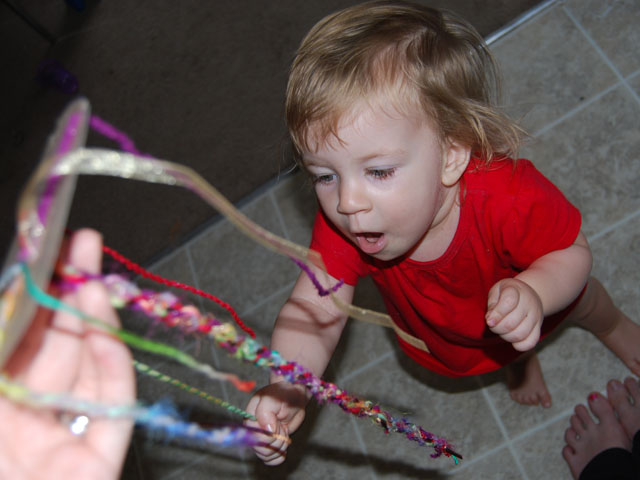
You can see here how it looks as the braid forms. Juniper really enjoyed this 
Step 3. Once you reached the desired length. just tie a knot and cut the extra fibers. It makes a pretty funky necklace! (I attached necklace clasps to the ends) Or you could use it as a purse handle, or anything else you could think up.

